Moving to the inside...

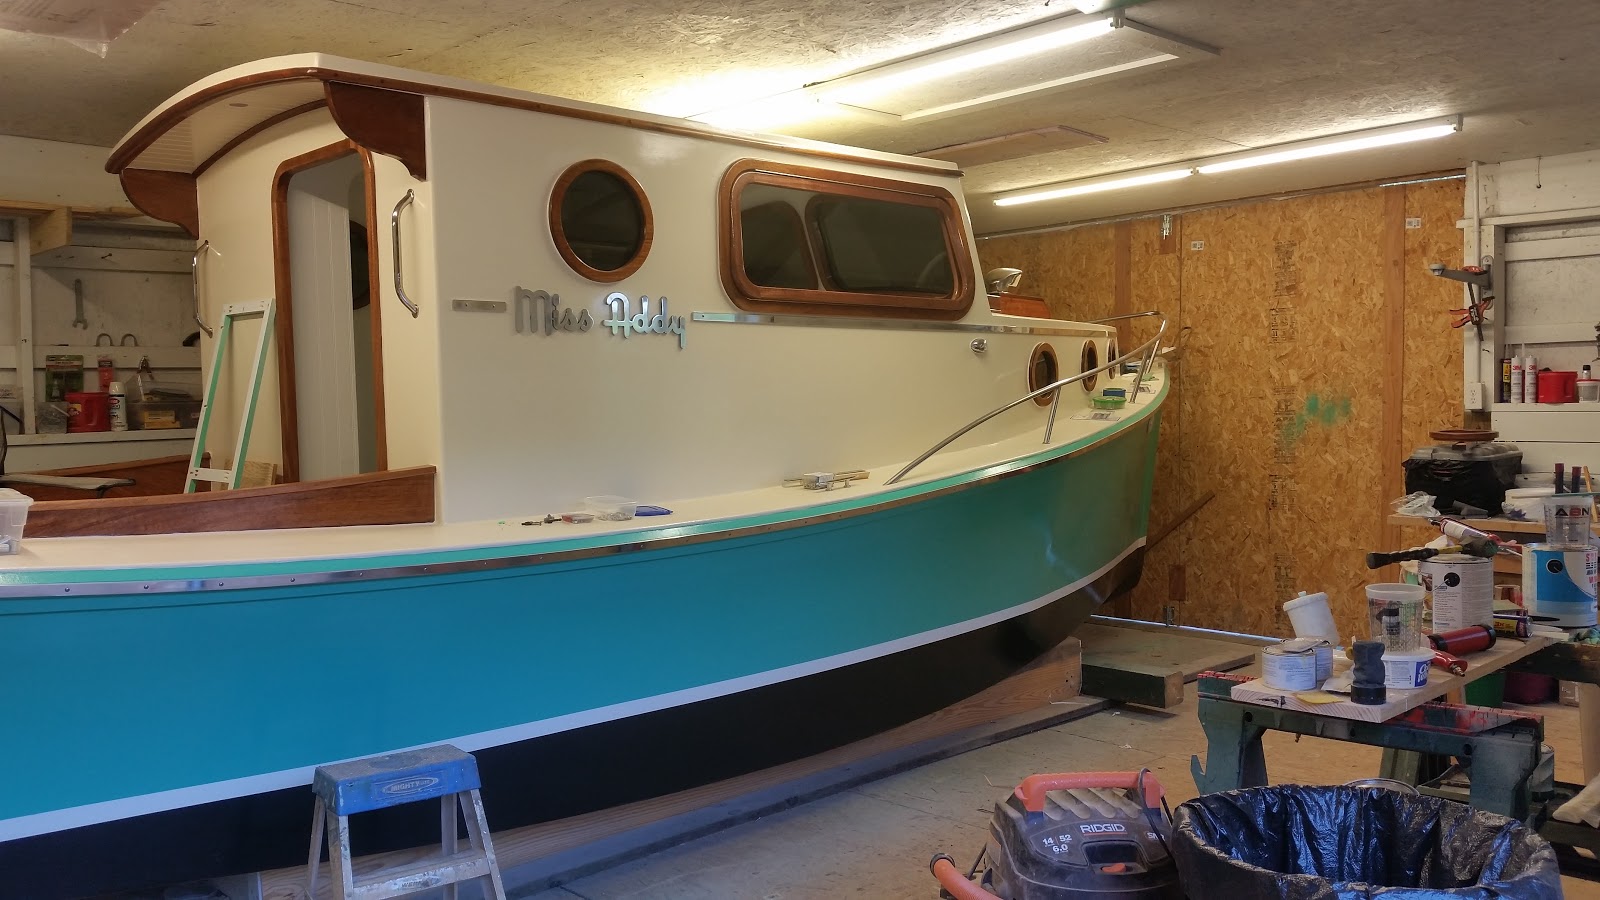
The exterior is almost complete or as far as it needs to go until foot traffic and systems are in place. The back deck (floor) will be left unfinished till the interior is mostly complete so foot traffic doesn't mess up the teak deck. The fuel tank compartment needs hatches but that will be tough to work around until the fuel lines and compartment blowers are in place. So we move to the interior and systems that need to be installed.
Water Tanks...
 |
Mattress boards are installed and easily removed in two pieces.
Front wall gets a mahogany panel with a 10" pry out port for sorting
out any tangles in the anchor rode. The last two 4" access ports are still waiting
for the wiring to be completed soon. they allow access to the docking lights. |
 |
Tanks straps hooked on floor opposite side of tank and passing through
two holes lower than the top of he tanks to create down pressure.
Vent line is at the top left and tank connector hose at the bottom. |
The fresh water tanks are installed under the V-berth. This was the plan so that any additional weight that had to be carried, could be kept low for stability and forward so that it wouldn't have Miss Addy to much by the stern in her trim. In correspondence with the designer it was mentioned on several different occasions that this design benefits with a little weight forward. Now this weight will constantly being either filled or used so it still may required to add ballast but that will have to wait till we splash it. The tanks were ordered from an RV supplier in Indiana. They use the RV standard 1-1/4" vs. 1-1/2" marine fill connections so I had to do some transitioning to get the tie in to the stainless deck fill. The compartments were sealed with epoxy long ago and bulkheads are installed at the frames that support the mattress and help stabilize the tanks. The tanks are 33 gallons and 46 gallons. They were as much as I could squeeze in to the two sections while leaving room to tie in the connections. The straps are just your standard ratchet strap.
 |
| Strapped -in tanks using one continuous strap passing across both tanks. |
I screwed eye bolts down on either side of the two tanks then cut and routed smooth a hole between the two so that the strap could pass over both tanks a put down pressure on them. The tanks are tied together at the bottom fitting with 1-1/4" spa hose that will allow both to fill and dispense equally. They also have a vent line that that ties both together so that displaced air can pass in and out of the tanks as they are used.
 |
Vent looped around city water
that isn't plumbed in yet |
 |
| Fresh water fill to deck. |
This line passes into the pilot house and loops around the City Water connection. The city water connection will allow dockside use without minding the fresh water. By the way I have no intention to drink the water. This is shower and dishes only and in an emergency situation of course to drink but I plan to pack bottled or gallon jug fulls for drinking and teeth brushing water. I can't imagine that even the most diligent attention paid to the tanks will ever offer water fit for taste. A check valve between the city water and the fresh water pump stops the pressurized water from getting back to the tanks and overflowing them.
 |
| Three thru-hulls opened up and ready to be sealed with epoxy |
We had to bore through the hull for the various through hulls that need to be installed for the shower pump, the pilot house sump pump and the air conditioner discharge line. The Webasto 9000btu heat pump uses ocean or lake water picked up through a seacock installed in the boat bottom and discharged above water line. It is a heat pump and can be reverse cycled to heat as well as cool. It runs off of a pump installed in the sump that will be under the settee sharing the space with the pumps and AC unit. This sacrifices some storage but it has to go somewhere and we will have some storage that I will try to compartmentalize for items that don't need to be readily accessible.
 |
| Toilet drain and vent |
Shower Floor...
 |
| 1/4" Hardie backer screwed down |
Keeping with the retro theme the bathroom gets tiled checkerboard style. The original floor was supposed to have a small octagonal mesh backed tile, mostley white with the black tiles scattered out. After the hardie was screwed down and I thinset around the border, we set upon cutting and laying the tile. Well, the tile just fell apart on the saw. We could only attribute this to a cheap product picked up at a discount flooring store that offered only a few choices. Instead of shutting down for the day we loaded up and headed to HD to see what was available. What we did find was wall tile in black and white 3" x 6". I generally would never use wall tile on a floor in the house. Just a bad idea. It can't stand up to heel traffic and is too slick for large areas, never good in a shower pan.
 |
The tile job is complete. I used Pro Fusion grout (first time for a ready mix)
which seemed to work great. It may have dried slightly off white though.
you can see the squeezed out grating bed. |
However, this is a boat shower, just wide enough to turn around in with 1/4" grout lines for traction and a wall 6" from the shoulders in any place you stand. I intend to install grab bars between walls to hold soap and shampoo bottles on the small shelf and one about 24" up from that to hang clothes and towels for drip drying. I don't anticipate any foot pressure other than bare or soft foot covering onboard. I also kind of like using the same tile as a 9" high back-splash behind the galley.
The grating that sits over the sump has been aggravating. I thought the size through but not how to waterproof. What I eventually did was to wrap the edges of the grating in packing tape and mix a super thick epoxy goo with white colorant added which was icing bagged into the gap and bottom of the grating. The grating was pushed in place and the epoxy allowed to set. This was all done after the tile was grouted and complete.
The holding tank was installed and screwed down through the tile. The pick up tube for the waste will plumb out of the back wall and the vent will go through a bulkhead fitting along with the vent and cold water supply for flushing.
 |
| Toilet set |
 The holding tank was installed and screwed down through the tile. The pick up tube for the waste will plumb out of the back wall and the vent will go through a bulkhead fitting along with the vent and cold water supply for flushing.


